This page describes how AgenPro can be used to simulate MIB modules for:
- verifying the design of the MIB module(s)
- finding out how to best manage devices implementing the simulated MIB module(s)
- providing a mocku-up of a real device while its implementation is not ready yet.
How-To Simulate MIB Modules with AgenPro
After having installed AgenPro:
Run AgenPro (make sure that the MIB repository that comes with AgenPro is installed and if not set with
File>Set Repository.Reuse MIB Repository of MIB Designer
If you have created your own MIB module(s) with MIB Designer you can directly use the MIB Designer installation's MIB repository. Simply switch to that repository withFile>Set Repositoryand select the repository directory used by MIB Designer.Compile the MIB module(s) to simulate with
File>Compile New MIBs. Skip this step if you are reusing a MIB repository that already contains the MIB modules you want to simulate.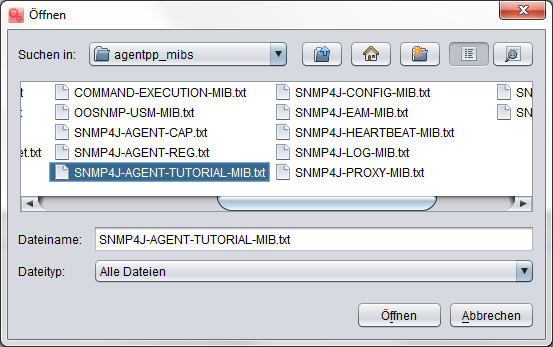
AgenPro Sorts MIB Files
AgenPro and any other AGENT++ tool sorts MIB files by their import dependencies before compiling them. Sorting can be applied only on multiple MIB files. All dependencies of a MIB file compiled as single file must be available within the currently selected MIB repository. Otherwise compilation fails with an "unresolved IMPORT dependency" error.
To compile several MIB modules at once,
(a) open a ZIP file with MIB (text) files therein
(b) open a directory that contains MIB (text) files.Open the compiled MIB modules (i.e. load them into AgenPro from the repository) by using
File->Open/Close MIB: Shuffle all the modules you want to simulate into the right list, in order to load them: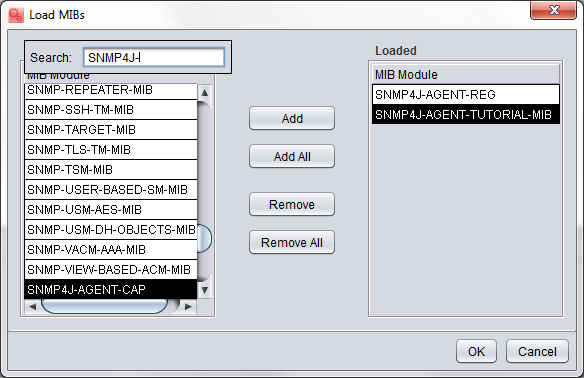
Open an existing code generation project depending on the target programming language with
Project->Open.
If you only want to simulate MIB modules, the code generation templates you choose are not relevant and can be left empty, but you need to define a project though.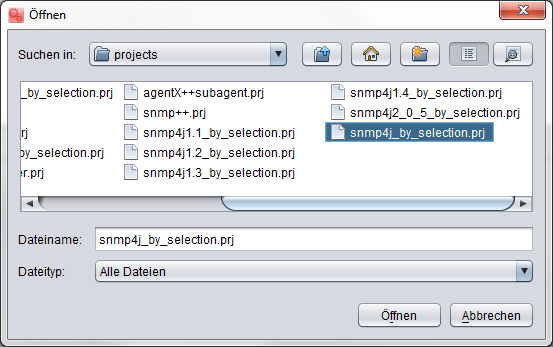
Edit the project using the Project Wizard with
Project->Edit.
For simulation of a SNMP agent, the first two steps are not relevant.In step (1) specify the root directories for template and in-/output paths (you will need those paths for being able to actually generate code)
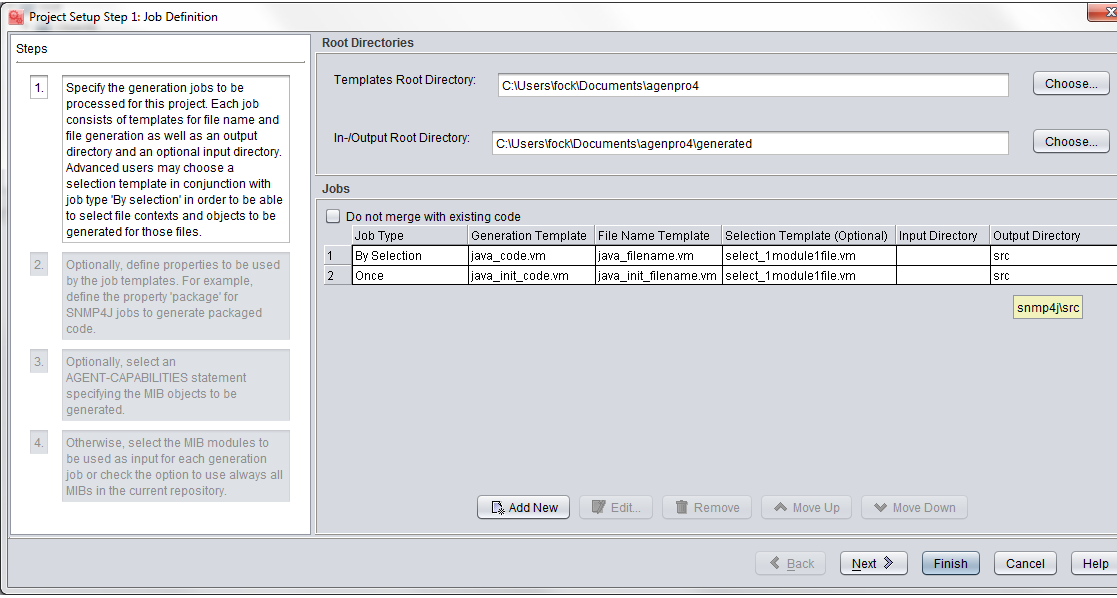
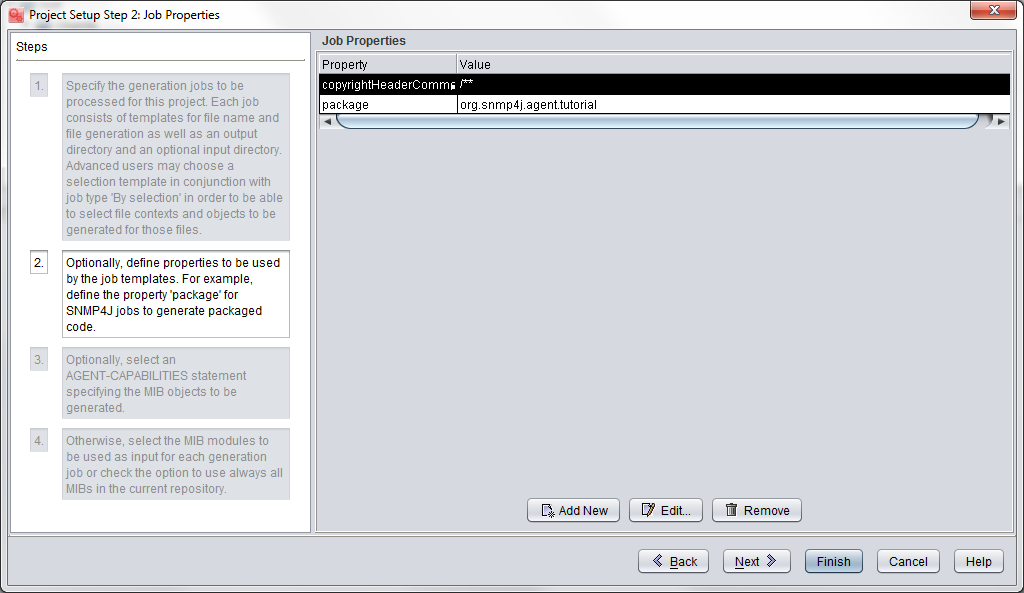
- In step (2) specify additional properties for the code generation jobs (not relevant for simulation):
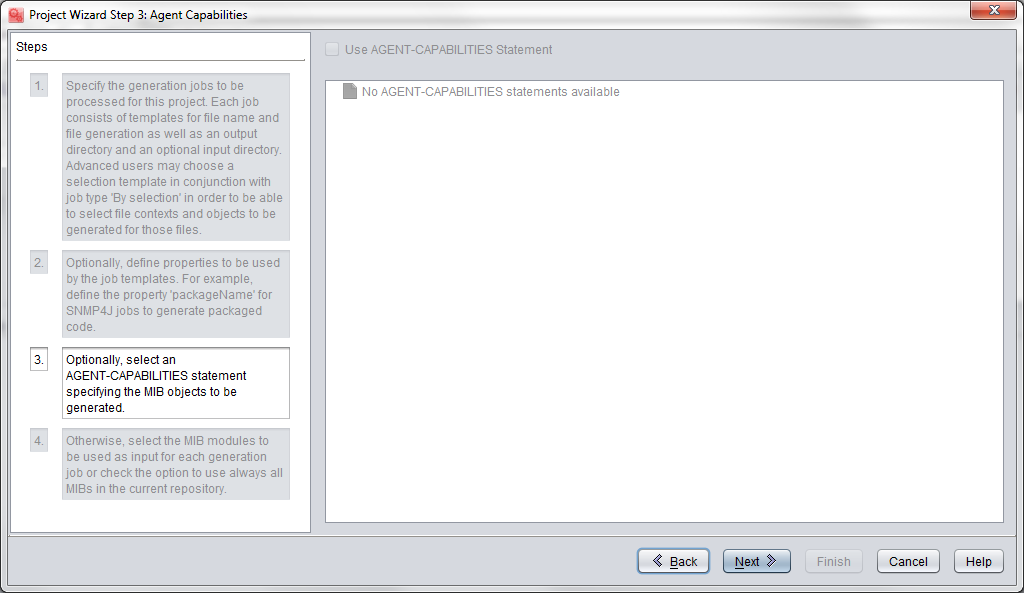
- In step (3) you can specify an AGENT-CAPABILITIES. Often an AGENT-CAPABILITIES statement providing a detailed description of the agent capabilitiies (i.e. support MIB modules and objects) does not exist. Only if such a statement is contained in the loaded MIB modules, then you cannot select such a statement and use it for defining the MIB modules/objects of the agent. The below screenshot shows the case when there is no such AGENT-CAPABILITIES statement available:
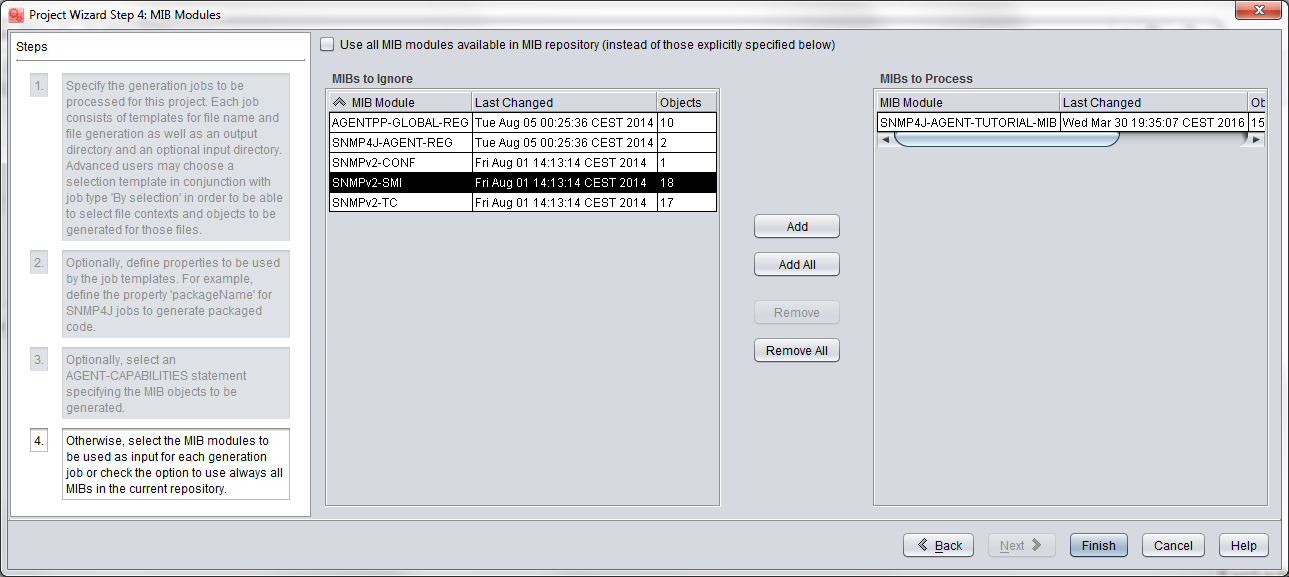
- In step (4) you specify the MIB modules for which code should be generated. In addition, when running the simulation agent, only those MIB modules will be simulated which are selected here for processing (or by the AGENT-CAPABILITIES statement from step 3):
- Configure the simulation agent parameters on the
Agenttab. The minimum settings are the local IP address (0.0.0.0 should be fine in most cases) and the port:
Run the simulation agent with
Agent->Run Agent.
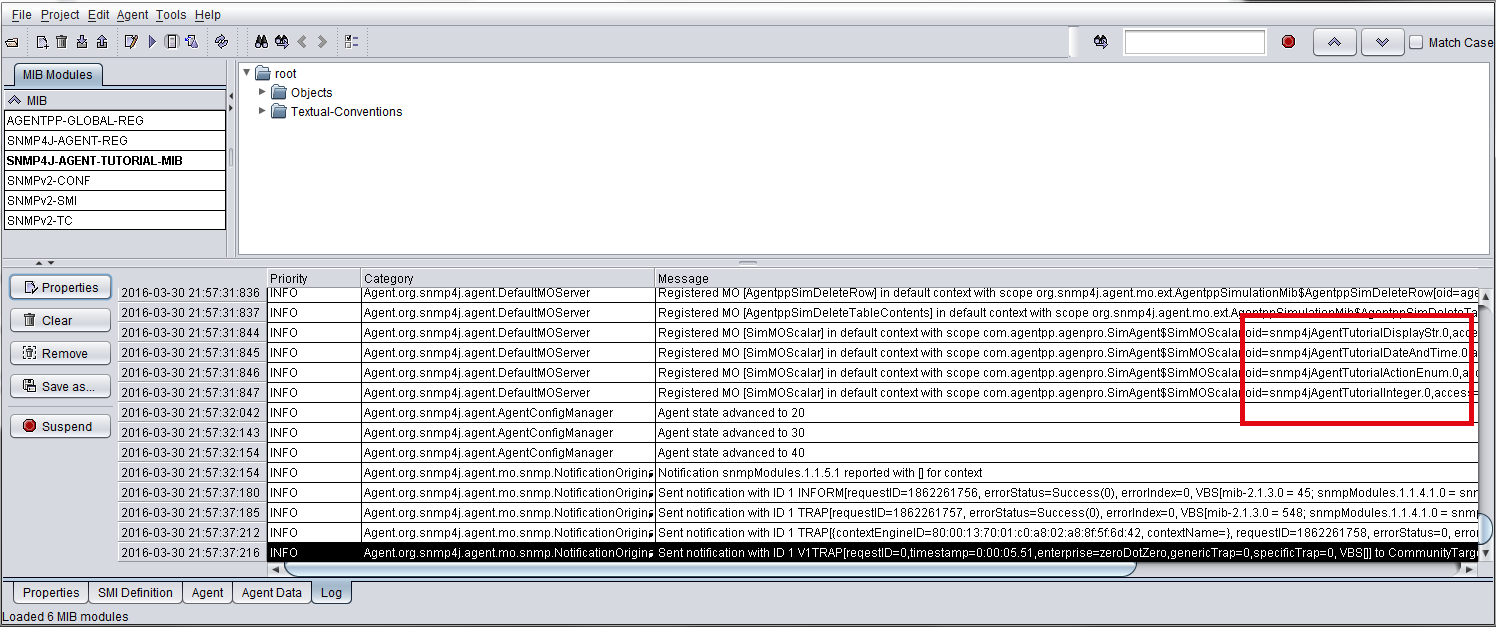
TheStartbutton of the agent panel is shown as "pressed".Inspect the Log panel
The Log tab shows details about the agent start. For example you can find which objects from the source modules are simulated: